Admin UI
The Socket.IO admin UI can be used to have an overview of the state of your Socket.IO deployment.
The source code can be found here: https://github.com/socketio/socket.io-admin-ui/
Link to the hosted version: https://admin.socket.io/
Current features
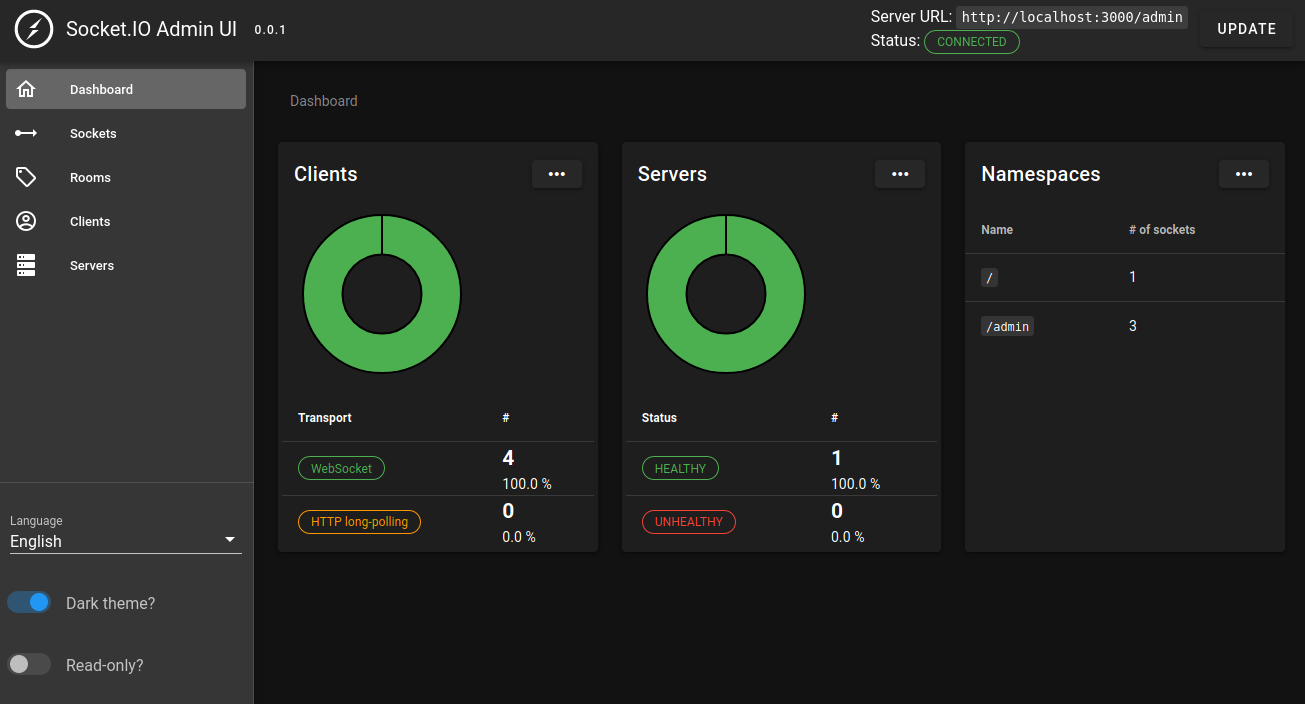
- overview of the servers and the clients that are currently connected
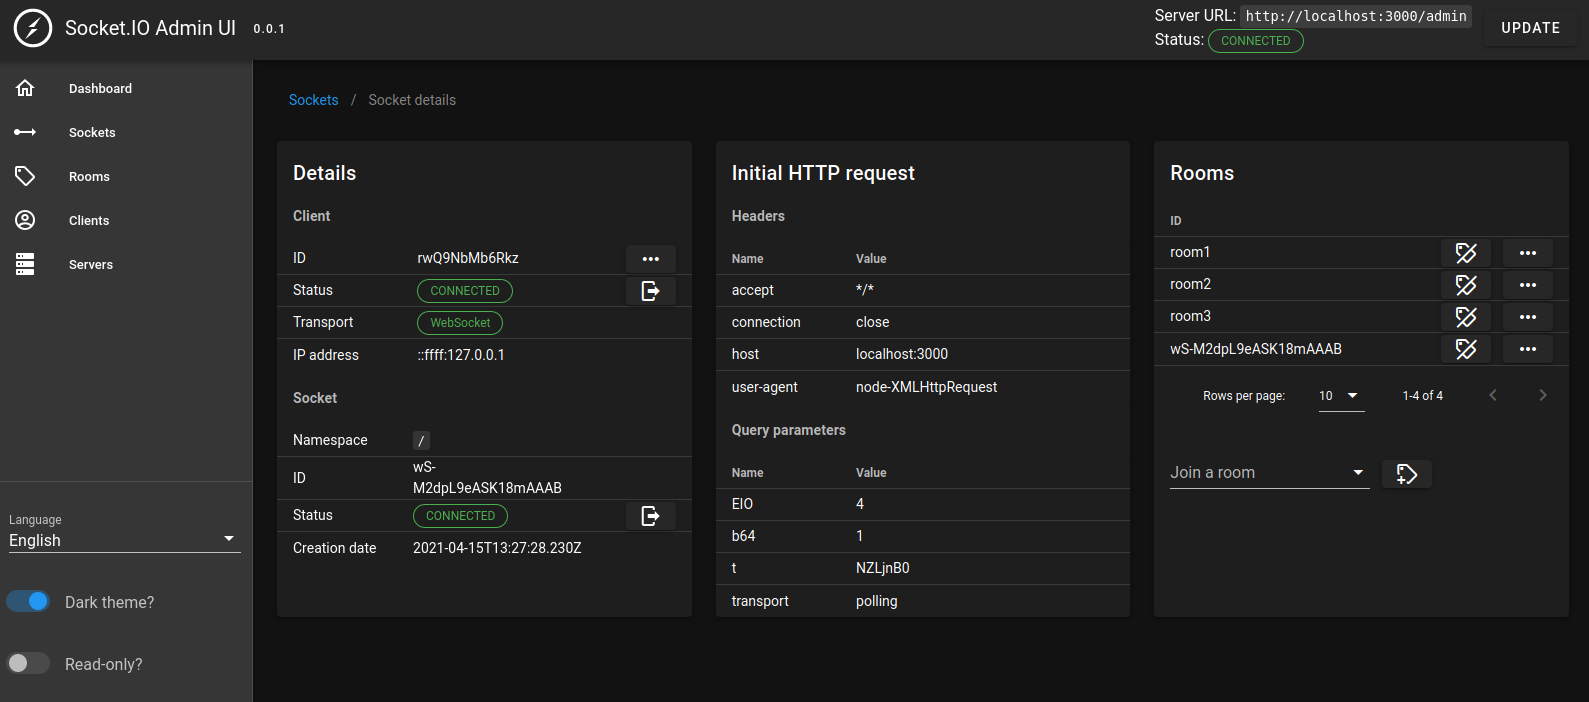
- details of each socket instance (active transport, handshake, rooms, ...)
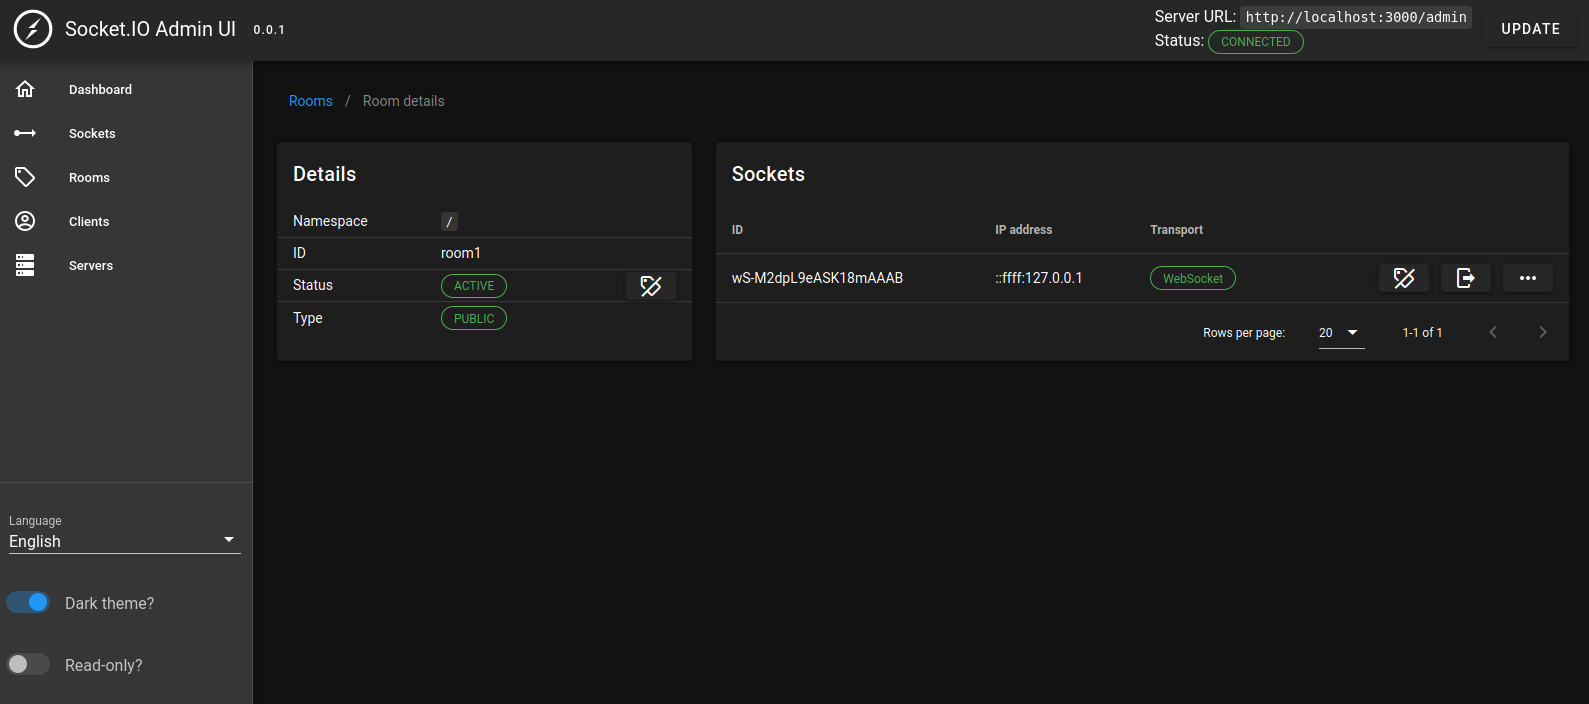
- details of each room
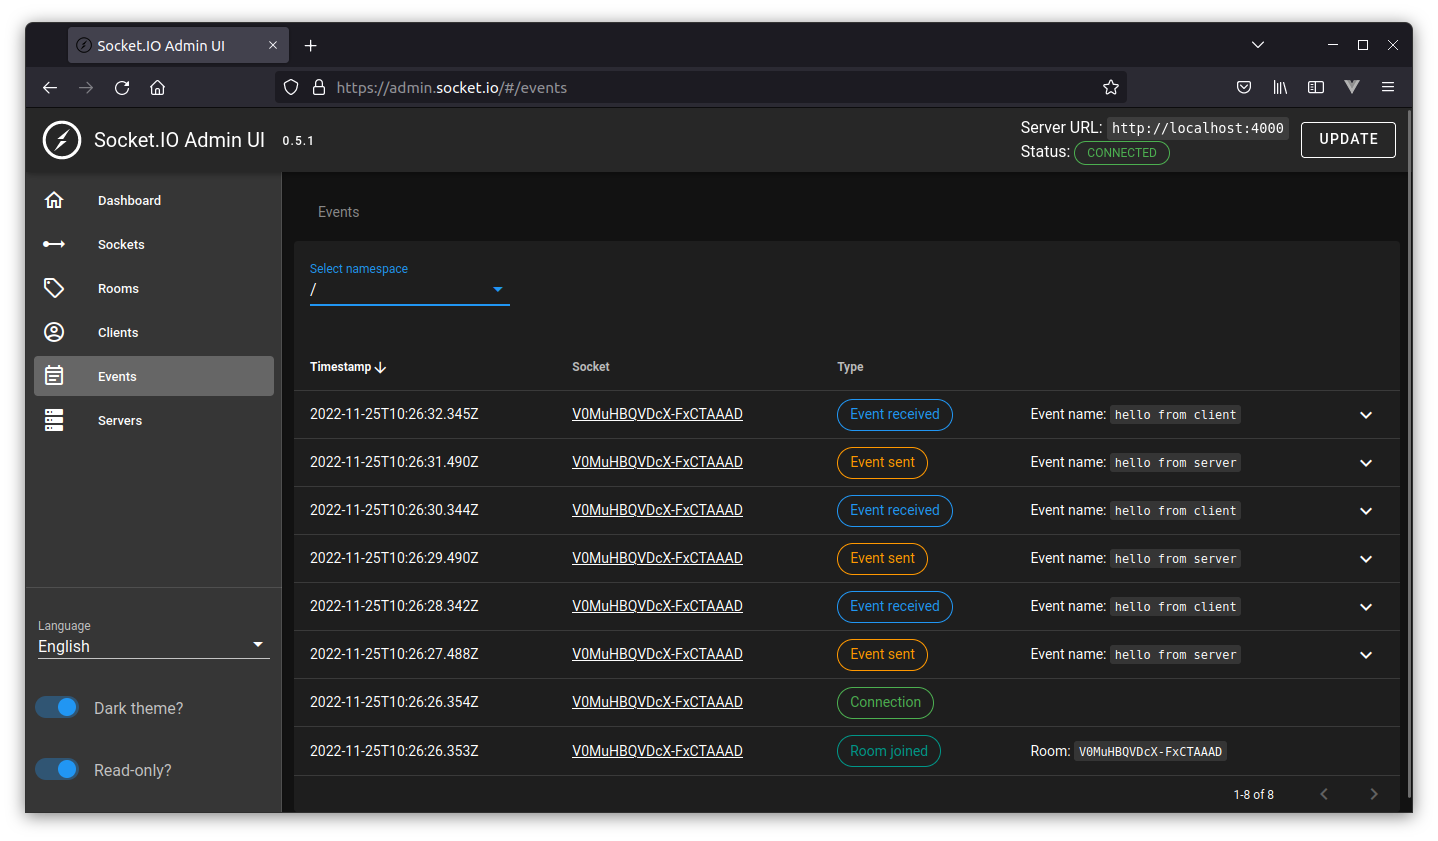
- details of every event emitted or received by the server
- administrative operations (join, leave, disconnect)
If you have any feedback / suggestions, do not hesitate!
Installation
Server-side
First, install the @socket.io/admin-ui package:
npm i @socket.io/admin-ui
And then invoke the instrument method on your Socket.IO server:
const { createServer } = require("http");
const { Server } = require("socket.io");
const { instrument } = require("@socket.io/admin-ui");

const httpServer = createServer();

const io = new Server(httpServer, {
  cors: {
    origin: ["https://admin.socket.io"],
    credentials: true
  }
});

instrument(io, {
  auth: false,
  mode: "development",
});

httpServer.listen(3000);
The module is compatible with:
- Socket.IO v4 server
- Socket.IO v3 server (>= 3.1.0), but without the operations on rooms (join, leave, disconnection)
Example with NestJS:
import { instrument } from "@socket.io/admin-ui";

@WebSocketGateway()
export class MyGateway {
    // ...
    afterInit() {
        instrument(this.server, {
            auth: false,
            mode: "development",
        });
    }
}
Client-side
You can then head up to https://admin.socket.io, or host the files found in the ui/dist folder here.
Important note: the website at https://admin.socket.io is totally static (hosted on Vercel), we do not (and will never) store any information about yourself or your browser (no tracking, no analytics, ...). That being said, hosting the files yourself is totally fine.
You should see the following modal:
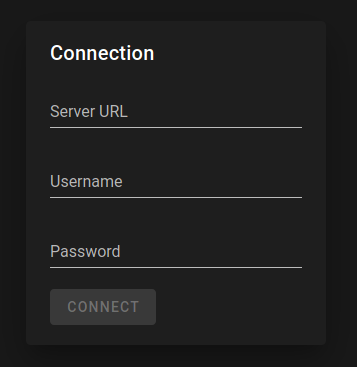
Please enter the URL of your server (for example, http://localhost:3000 or https://example.com) and the credentials, if applicable (see the auth option below).
Available options
auth
Default value: -
This option is mandatory. You can either disable authentication (please use with caution):
instrument(io, {
  auth: false
});
Or use basic authentication:
instrument(io, {
  auth: {
    type: "basic",
    username: "admin",
    password: "$2b$10$heqvAkYMez.Va6Et2uXInOnkCT6/uQj1brkrbyG3LpopDklcq7ZOS" // "changeit" encrypted with bcrypt
  },
});
Please note that the bcrypt package does not currently support hashes starting with the $2y$ prefix, which is used by some BCrypt implementations (for example https://bcrypt-generator.com/ or https://www.bcrypt.fr/). You can check the validity of the hash with:
$ node
> require("bcryptjs").compareSync("<the password>", "<the hash>")
true
You can generate a valid hash with:
$ node
> require("bcryptjs").hashSync("changeit", 10)
'$2b$10$LQUE...'
See also:
namespaceName
Default value: /admin
The name of the namespace which will be created to handle the administrative tasks.
instrument(io, {
  namespaceName: "/custom"
});
This namespace is a classic Socket.IO namespace, you can access it with:
const adminNamespace = io.of("/admin");
More information here.
readonly
Default value: false
Whether to put the admin UI in read-only mode (no join, leave or disconnect allowed).
instrument(io, {
  readonly: true
});
serverId
Default value: require("os").hostname()
The ID of the given server. If you have several Socket.IO servers on the same machine, you'll need to give them a distinct ID:
instrument(io, {
  serverId: `${require("os").hostname()}#${process.pid}`
});
store
Default value: new InMemoryStore()
The store is used to store the session IDs so the user do not have to retype the credentials upon reconnection.
If you use basic authentication in a multi-server setup, you should provide a custom store:
const { instrument, RedisStore } = require("@socket.io/admin-ui");

instrument(io, {
  store: new RedisStore(redisClient)
});
mode
Default value: development
In production mode, the server won't send all details about the socket instances and the rooms, thus reducing the memory footprint of the instrumentation.
instrument(io, {
  mode: "production"
});
The production mode can also be enabled with the NODE_ENV environment variable:
NODE_ENV=production node index.js
How it works
The source code can be found here: https://github.com/socketio/socket.io-admin-ui/
The instrument method simply:
- creates a namespace and adds an authentication middleware if applicable
- register listeners for the
connectionanddisconnectevents for each existing namespaces to track the socket instances - register a timer which will periodically send stats from the server to the UI
- register handlers for the
join,leaveand_disconnectcommands sent from the UI
Latest releases
0.5.1(Oct 2022): GitHub release / diff0.5.0(Sep 2022): GitHub release / diff0.4.0(Jun 2022): GitHub release / diff