Private messaging - Part I
In this guide we will create the following application:
We will cover the following topics:
- middlewares
- rooms
- scaling to multiple Socket.IO servers
Prerequisites:
- basic knowledge of Socket.IO
- basic knowledge of Vue.js (though knowledge of another popular frontend framework should work too)
- basic knowledge of Redis (for the final part)
This guide has four distinct parts:
- Part I (current): initial implementation
- Part II: persistent user ID
- Part III: persistent messages
- Part IV: scaling up
Let's start!
Installation
First, let's retrieve the initial implementation of our chat application:
git clone https://github.com/socketio/socket.io.git
cd socket.io/examples/private-messaging
git checkout examples/private-messaging-part-1
Here's what you should see in the current directory:
├── babel.config.js
├── package.json
├── public
│   ├── favicon.ico
│   ├── fonts
│   │   └── Lato-Regular.ttf
│   └── index.html
├── README.md
├── server
│   ├── index.js
│   ├── package.json
└── src
    ├── App.vue
    ├── components
    │   ├── Chat.vue
    │   ├── MessagePanel.vue
    │   ├── SelectUsername.vue
    │   ├── StatusIcon.vue
    │   └── User.vue
    ├── main.js
    └── socket.js
The code for the frontend is located in the src directory, while the code for the server is in the server directory.
Running the frontend
The project is a basic Vue.js application which was created with @vue/cli.
To run it:
npm install
npm run serve
Then if you open http://localhost:8080 in your browser, you should see:
Running the server
Now, let's start the server:
cd server
npm install
npm start
Your console should print:
server listening at http://localhost:3000
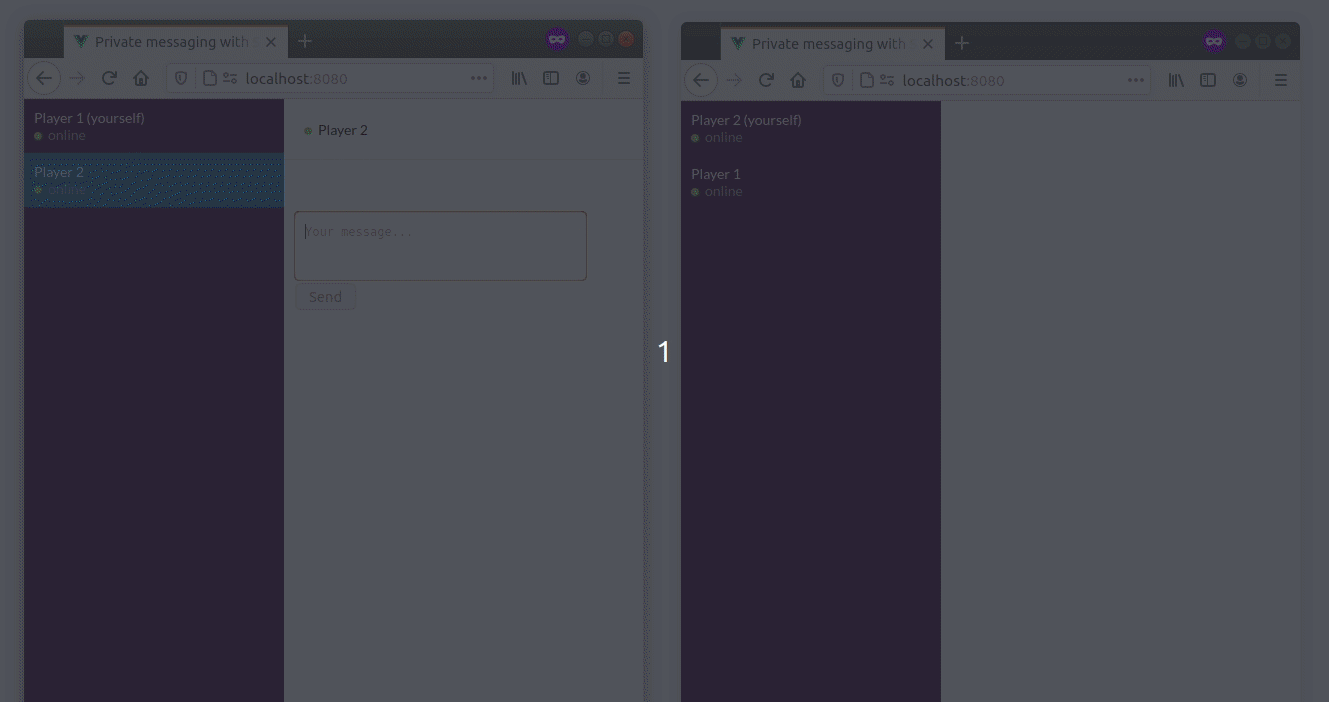
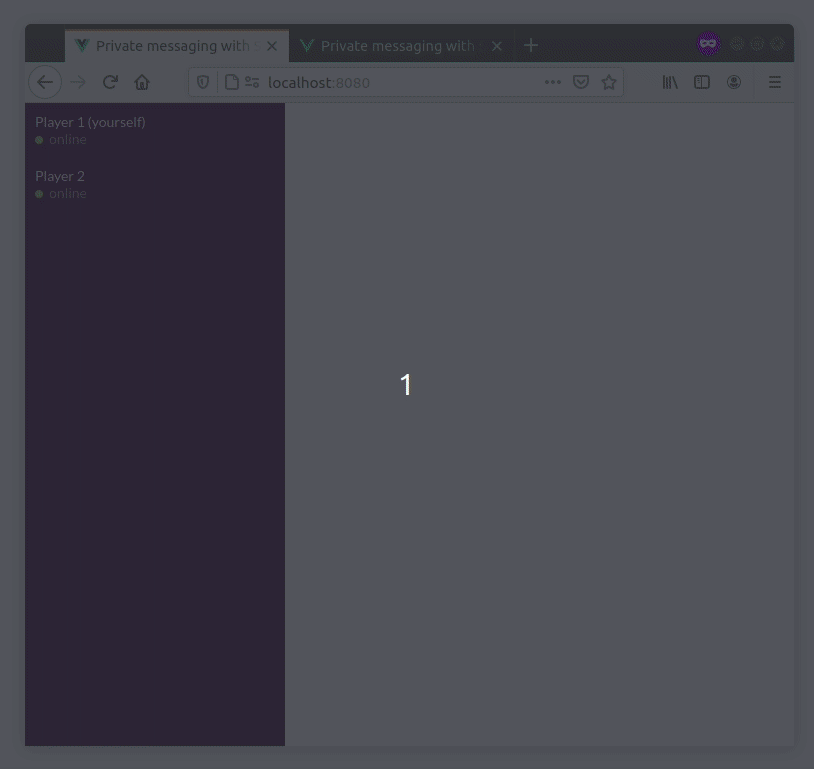
So far, so good! You should be able to open several tabs and send a few messages between them:
How it works
Server initialization
The Socket.IO server is initialized in the server/index.js file:
const httpServer = require("http").createServer();
const io = require("socket.io")(httpServer, {
  cors: {
    origin: "http://localhost:8080",
  },
});
Here, we create a Socket.IO server and attach it to a Node.js HTTP server.
Documentation:
The cors configuration is needed so that HTTP requests sent by the frontend (running at http://localhost:8080) are allowed to reach the server (running at http://localhost:3000, so we are in a cross-origin situation).
Documentation:
Client initialization
The Socket.IO client is initialized in the src/socket.js file:
import { io } from "socket.io-client";

const URL = "http://localhost:3000";
const socket = io(URL, { autoConnect: false });

export default socket;
autoConnect is set to false so the connection is not established right away. We will manually call socket.connect() later, once the user has selected a username.
Documentation: Socket.IO client initialization
We also register a catch-all listener, which is very useful during development:
socket.onAny((event, ...args) => {
  console.log(event, args);
});
So that any event received by the client will be printed in the console.
Selection of the username
Now, let's move to src/App.vue:
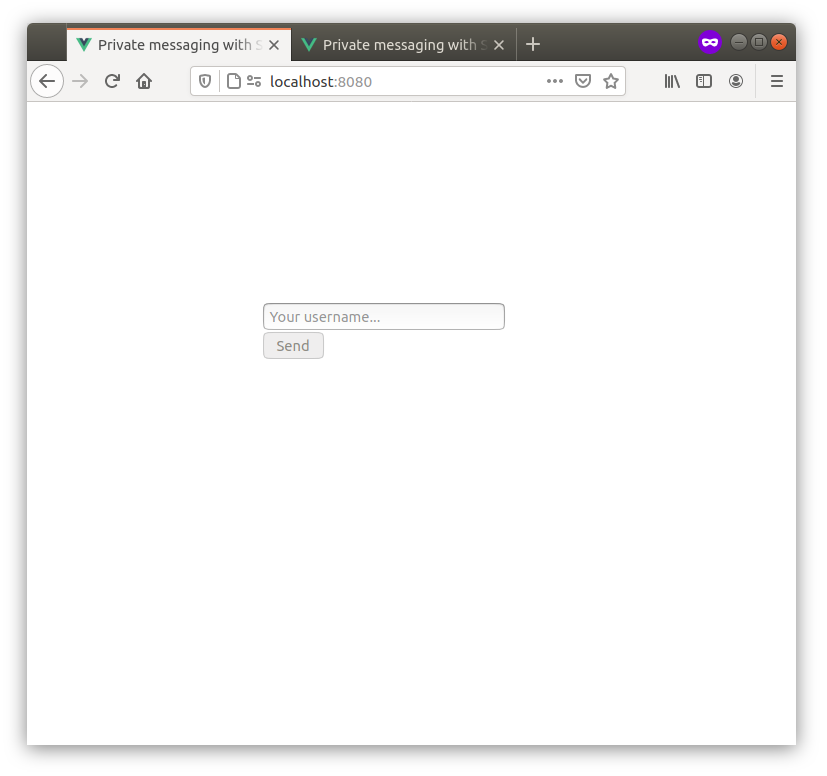
The application is started with usernameAlreadySelected set to false, so the form to select a username is displayed:
Once the form is submitted, we'll reach the onUsernameSelection method:
onUsernameSelection(username) {
  this.usernameAlreadySelected = true;
  socket.auth = { username };
  socket.connect();
}
We attach the username in the auth object, and then call socket.connect().
If you open your network tab in your developer tools, you should see a few HTTP requests:
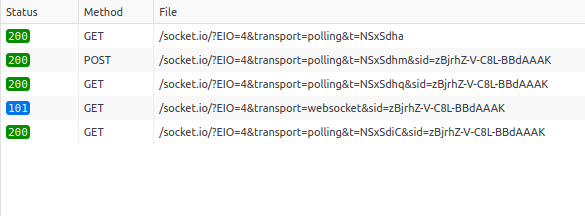
- the Engine.IO handshake (contains the session ID — here,
zBjrh...AAAK— that is used in subsequent requests) - the Socket.IO handshake request (contains the value of the
authoption) - the Socket.IO handshake response (contains the Socket#id)
- the WebSocket connection
- the first HTTP long-polling request, which is closed once the WebSocket connection is established
If you see this, it means that the connection was successfully established.
On the server-side, we register a middleware which checks the username and allows the connection:
io.use((socket, next) => {
  const username = socket.handshake.auth.username;
  if (!username) {
    return next(new Error("invalid username"));
  }
  socket.username = username;
  next();
});
The username is added as an attribute of the socket object, in order to be reused later. You can attach any attribute, as long as you don't overwrite an existing one like socket.id or socket.handshake.
Documentation:
On the client-side (src/App.vue), we add a handler for the connect_error event:
socket.on("connect_error", (err) => {
  if (err.message === "invalid username") {
    this.usernameAlreadySelected = false;
  }
});
The connect_error event will be emitted upon connection failure:
- due to the low-level errors (when the server is down for example)
- due to middleware errors
Please note that, in the function above, the low-level errors are not handled (the user could be notified of the connection failure, for example).
Last note: the handler for the connect_error is removed in the destroyed hook:
destroyed() {
  socket.off("connect_error");
}
So the listeners registered by our App component are cleaned up when the component is destroyed.
Listing all users
Upon connection, we send all existing users to the client:
io.on("connection", (socket) => {
  const users = [];
  for (let [id, socket] of io.of("/").sockets) {
    users.push({
      userID: id,
      username: socket.username,
    });
  }
  socket.emit("users", users);
  // ...
});
We are looping over the io.of("/").sockets object, which is a Map of all currently connected Socket instances, indexed by ID.
Two remarks here:
- we are using the
socket.idas the user ID of our application - we are only retrieving the users of the current Socket.IO server (not suitable when scaling up)
We'll come back to this later.
On the client-side (src/components/Chat.vue), we register a handler for the users event:
socket.on("users", (users) => {
  users.forEach((user) => {
    user.self = user.userID === socket.id;
    initReactiveProperties(user);
  });
  // put the current user first, and then sort by username
  this.users = users.sort((a, b) => {
    if (a.self) return -1;
    if (b.self) return 1;
    if (a.username < b.username) return -1;
    return a.username > b.username ? 1 : 0;
  });
});
We also notify the existing users:
Server
io.on("connection", (socket) => {
  // notify existing users
  socket.broadcast.emit("user connected", {
    userID: socket.id,
    username: socket.username,
  });
});
socket.broadcast.emit("user connected", ...) will emit to all connected clients, except the socket itself.
The other form of broadcasting, io.emit("user connected", ...), would have sent the "user connected" event to all connected clients, including the new user.
Documentation: broadcasting events
Client
socket.on("user connected", (user) => {
  initReactiveProperties(user);
  this.users.push(user);
});
The list of users is displayed on the left panel:
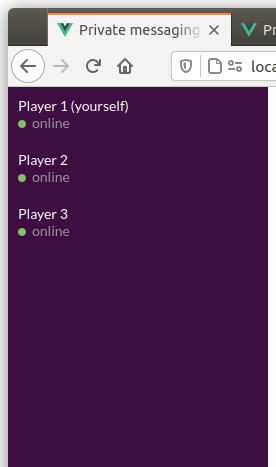
Private messaging
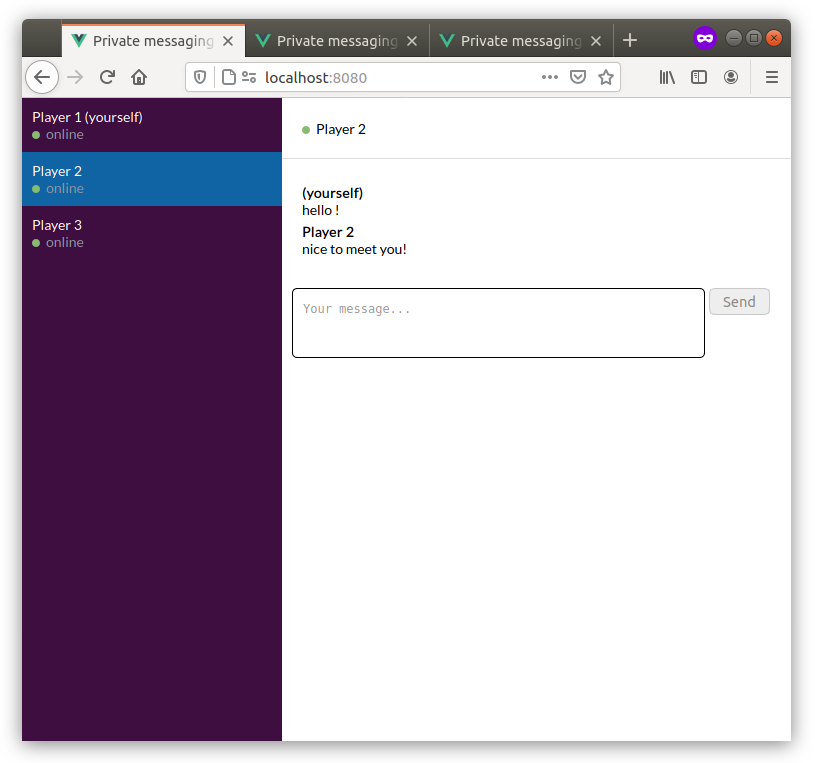
When selecting a given user, the right panel displays a chat window:
Here is how private messages are implemented:
Client (sender)
onMessage(content) {
  if (this.selectedUser) {
    socket.emit("private message", {
      content,
      to: this.selectedUser.userID,
    });
    this.selectedUser.messages.push({
      content,
      fromSelf: true,
    });
  }
}
Server
socket.on("private message", ({ content, to }) => {
  socket.to(to).emit("private message", {
    content,
    from: socket.id,
  });
});
Here, we are using the concept of Rooms. These are channels that Socket instances can join and leave, and you can broadcast to all clients in a room.
We are relying on the fact that the Socket instance automatically joins the room identified by its id (socket.join(socket.id) is called for you).
So socket.to(to).emit("private message", ...) emits to the given user ID.
Client (recipient)
socket.on("private message", ({ content, from }) => {
  for (let i = 0; i < this.users.length; i++) {
    const user = this.users[i];
    if (user.userID === from) {
      user.messages.push({
        content,
        fromSelf: false,
      });
      if (user !== this.selectedUser) {
        user.hasNewMessages = true;
      }
      break;
    }
  }
});
Connection status
On the client-side, the Socket instance emits two special events:
connect: upon connection or reconnectiondisconnect: upon disconnection
Those events can be used to track the state of the connection (in src/components/Chat.vue):
socket.on("connect", () => {
  this.users.forEach((user) => {
    if (user.self) {
      user.connected = true;
    }
  });
});

socket.on("disconnect", () => {
  this.users.forEach((user) => {
    if (user.self) {
      user.connected = false;
    }
  });
});
You can test it by stopping the server:
Review
OK, so... what we have for now is great, but there is an obvious issue:

Explanation: a new Socket ID is generated upon reconnection, so every time a user gets disconnected and reconnects, it will get a new user ID.
That's why we need a persistent user ID, which is the subject of the 2nd part of this guide.
Thanks for reading!