Get started
In this guide we’ll create a basic chat application. It requires almost no basic prior knowledge of Node.JS or Socket.IO, so it’s ideal for users of all knowledge levels.
Introduction
Writing a chat application with popular web applications stacks like LAMP (PHP) has normally been very hard. It involves polling the server for changes, keeping track of timestamps, and it’s a lot slower than it should be.
Sockets have traditionally been the solution around which most real-time chat systems are architected, providing a bi-directional communication channel between a client and a server.
This means that the server can push messages to clients. Whenever you write a chat message, the idea is that the server will get it and push it to all other connected clients.
The web framework
The first goal is to set up a simple HTML webpage that serves out a form and a list of messages. We’re going to use the Node.JS web framework express to this end. Make sure Node.JS is installed.
First let’s create a package.json manifest file that describes our project. I recommend you place it in a dedicated empty directory (I’ll call mine chat-example).
{
  "name": "socket-chat-example",
  "version": "0.0.1",
  "description": "my first socket.io app",
  "dependencies": {}
}
The "name" property must be unique, you cannot use a value like "socket.io" or "express", because npm will complain when installing the dependency.
Now, in order to easily populate the dependencies property with the things we need, we’ll use npm install:
npm install express@4
Once it's installed we can create an index.js file that will set up our application.
const express = require('express');
const app = express();
const http = require('http');
const server = http.createServer(app);
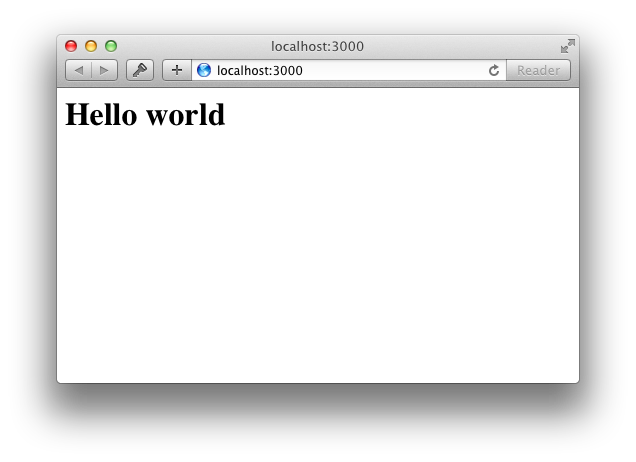
app.get('/', (req, res) => {
res.send('<h1>Hello world</h1>');
});
server.listen(3000, () => {
console.log('listening on *:3000');
});
This means that:
- Express initializes
appto be a function handler that you can supply to an HTTP server (as seen in line 4). - We define a route handler
/that gets called when we hit our website home. - We make the http server listen on port 3000.
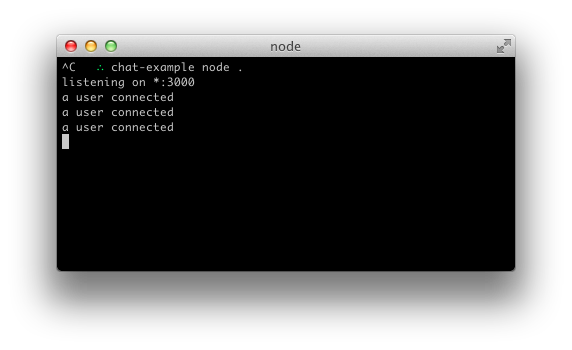
If you run node index.js you should see the following:

And if you point your browser to http://localhost:3000:
Serving HTML
So far in index.js we’re calling res.send and passing it a string of HTML. Our code would look very confusing if we just placed our entire application’s HTML there, so instead we're going to create a index.html file and serve that instead.
Let’s refactor our route handler to use sendFile instead.
app.get('/', (req, res) => {
  res.sendFile(__dirname + '/index.html');
});
Put the following in your index.html file:
<!DOCTYPE html>
<html>
  <head>
    <title>Socket.IO chat</title>
    <style>
      body { margin: 0; padding-bottom: 3rem; font-family: -apple-system, BlinkMacSystemFont, "Segoe UI", Roboto, Helvetica, Arial, sans-serif; }

      #form { background: rgba(0, 0, 0, 0.15); padding: 0.25rem; position: fixed; bottom: 0; left: 0; right: 0; display: flex; height: 3rem; box-sizing: border-box; backdrop-filter: blur(10px); }
      #input { border: none; padding: 0 1rem; flex-grow: 1; border-radius: 2rem; margin: 0.25rem; }
      #input:focus { outline: none; }
      #form > button { background: #333; border: none; padding: 0 1rem; margin: 0.25rem; border-radius: 3px; outline: none; color: #fff; }

      #messages { list-style-type: none; margin: 0; padding: 0; }
      #messages > li { padding: 0.5rem 1rem; }
      #messages > li:nth-child(odd) { background: #efefef; }
    </style>
  </head>
  <body>
    <ul id="messages"></ul>
    <form id="form" action="">
      <input id="input" autocomplete="off" /><button>Send</button>
    </form>
  </body>
</html>
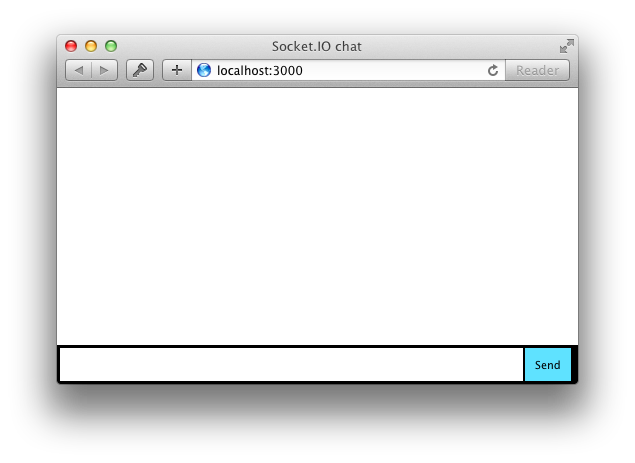
If you restart the process (by hitting Control+C and running node index.js again) and refresh the page it should look like this:
Integrating Socket.IO
Socket.IO is composed of two parts:
- A server that integrates with (or mounts on) the Node.JS HTTP Server socket.io
- A client library that loads on the browser side socket.io-client
During development, socket.io serves the client automatically for us, as we’ll see, so for now we only have to install one module:
npm install socket.io
That will install the module and add the dependency to package.json. Now let’s edit index.js to add it:
const express = require('express');
const app = express();
const http = require('http');
const server = http.createServer(app);
const { Server } = require("socket.io");
const io = new Server(server);

app.get('/', (req, res) => {
  res.sendFile(__dirname + '/index.html');
});

io.on('connection', (socket) => {
  console.log('a user connected');
});

server.listen(3000, () => {
  console.log('listening on *:3000');
});
Notice that I initialize a new instance of socket.io by passing the server (the HTTP server) object. Then I listen on the connection event for incoming sockets and log it to the console.
Now in index.html add the following snippet before the </body> (end body tag):
<script src="/socket.io/socket.io.js"></script>
<script>
  var socket = io();
</script>
That’s all it takes to load the socket.io-client, which exposes an io global (and the endpoint GET /socket.io/socket.io.js), and then connect.
If you would like to use the local version of the client-side JS file, you can find it at node_modules/socket.io/client-dist/socket.io.js.
You can also use a CDN instead of the local files (e.g. <script src="https://cdn.socket.io/4.7.2/socket.io.min.js"></script>).
Notice that I’m not specifying any URL when I call io(), since it defaults to trying to connect to the host that serves the page.
If you're behind a reverse proxy such as apache or nginx please take a look at the documentation for it.
If you're hosting your app in a folder that is not the root of your website (e.g., https://example.com/chatapp) then you also need to specify the path in both the server and the client.
If you now restart the process (by hitting Control+C and running node index.js again) and then refresh the webpage you should see the console print “a user connected”.
Try opening several tabs, and you’ll see several messages.
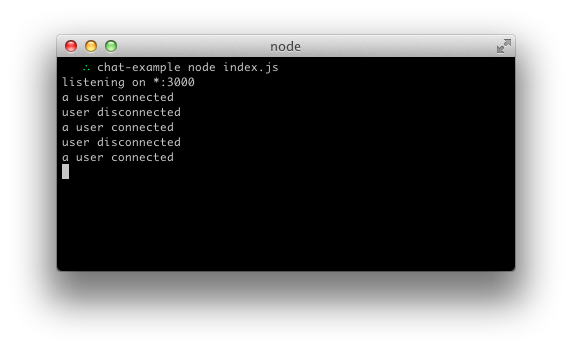
Each socket also fires a special disconnect event:
io.on('connection', (socket) => {
  console.log('a user connected');
  socket.on('disconnect', () => {
    console.log('user disconnected');
  });
});
Then if you refresh a tab several times you can see it in action.
Emitting events
The main idea behind Socket.IO is that you can send and receive any events you want, with any data you want. Any objects that can be encoded as JSON will do, and binary data is supported too.
Let’s make it so that when the user types in a message, the server gets it as a chat message event. The script section in index.html should now look as follows:
<script src="/socket.io/socket.io.js"></script>
<script>
  var socket = io();

  var form = document.getElementById('form');
  var input = document.getElementById('input');

  form.addEventListener('submit', function(e) {
    e.preventDefault();
    if (input.value) {
      socket.emit('chat message', input.value);
      input.value = '';
    }
  });
</script>
And in index.js we print out the chat message event:
io.on('connection', (socket) => {
  socket.on('chat message', (msg) => {
    console.log('message: ' + msg);
  });
});
The result should be like the following video:
Broadcasting
The next goal is for us to emit the event from the server to the rest of the users.
In order to send an event to everyone, Socket.IO gives us the io.emit() method.
io.emit('some event', { someProperty: 'some value', otherProperty: 'other value' }); // This will emit the event to all connected sockets
If you want to send a message to everyone except for a certain emitting socket, we have the broadcast flag for emitting from that socket:
io.on('connection', (socket) => {
  socket.broadcast.emit('hi');
});
In this case, for the sake of simplicity we’ll send the message to everyone, including the sender.
io.on('connection', (socket) => {
  socket.on('chat message', (msg) => {
    io.emit('chat message', msg);
  });
});
And on the client side when we capture a chat message event we’ll include it in the page. The total client-side JavaScript code now amounts to:
<script src="/socket.io/socket.io.js"></script>
<script>
  var socket = io();

  var messages = document.getElementById('messages');
  var form = document.getElementById('form');
  var input = document.getElementById('input');

  form.addEventListener('submit', function(e) {
    e.preventDefault();
    if (input.value) {
      socket.emit('chat message', input.value);
      input.value = '';
    }
  });

  socket.on('chat message', function(msg) {
    var item = document.createElement('li');
    item.textContent = msg;
    messages.appendChild(item);
    window.scrollTo(0, document.body.scrollHeight);
  });
</script>
And that completes our chat application, in about 20 lines of code! This is what it looks like:
Homework
Here are some ideas to improve the application:
- Broadcast a message to connected users when someone connects or disconnects.
- Add support for nicknames.
- Don’t send the same message to the user that sent it. Instead, append the message directly as soon as they press enter.
- Add “{user} is typing” functionality.
- Show who’s online.
- Add private messaging.
- Share your improvements!
Getting this example
You can find it on GitHub here.
git clone https://github.com/socketio/chat-example.git